Graph Powerhouse is the latest Ultipa graph database product (v5.x). This guide will walk you through the creation and management of Graph Powerhouse instances.
Create an Instance
To begin, sign in to cloud.ultipa.com. Navigate to the Ultipa Graph > Graph Powerhouse section, click Create and select the Standard plan.
While a Free Trial is available with fixed configurations, this section focuses on the steps for setting up a Standard instance. This will allow you to customize configurations to fit your specific needs.
You can now proceed with the following setup:
-
Choose your Cloud server provider and a Region that best suits your needs, typically one geographically close to your users.
-
Configure Cluster size that meets your requirements:
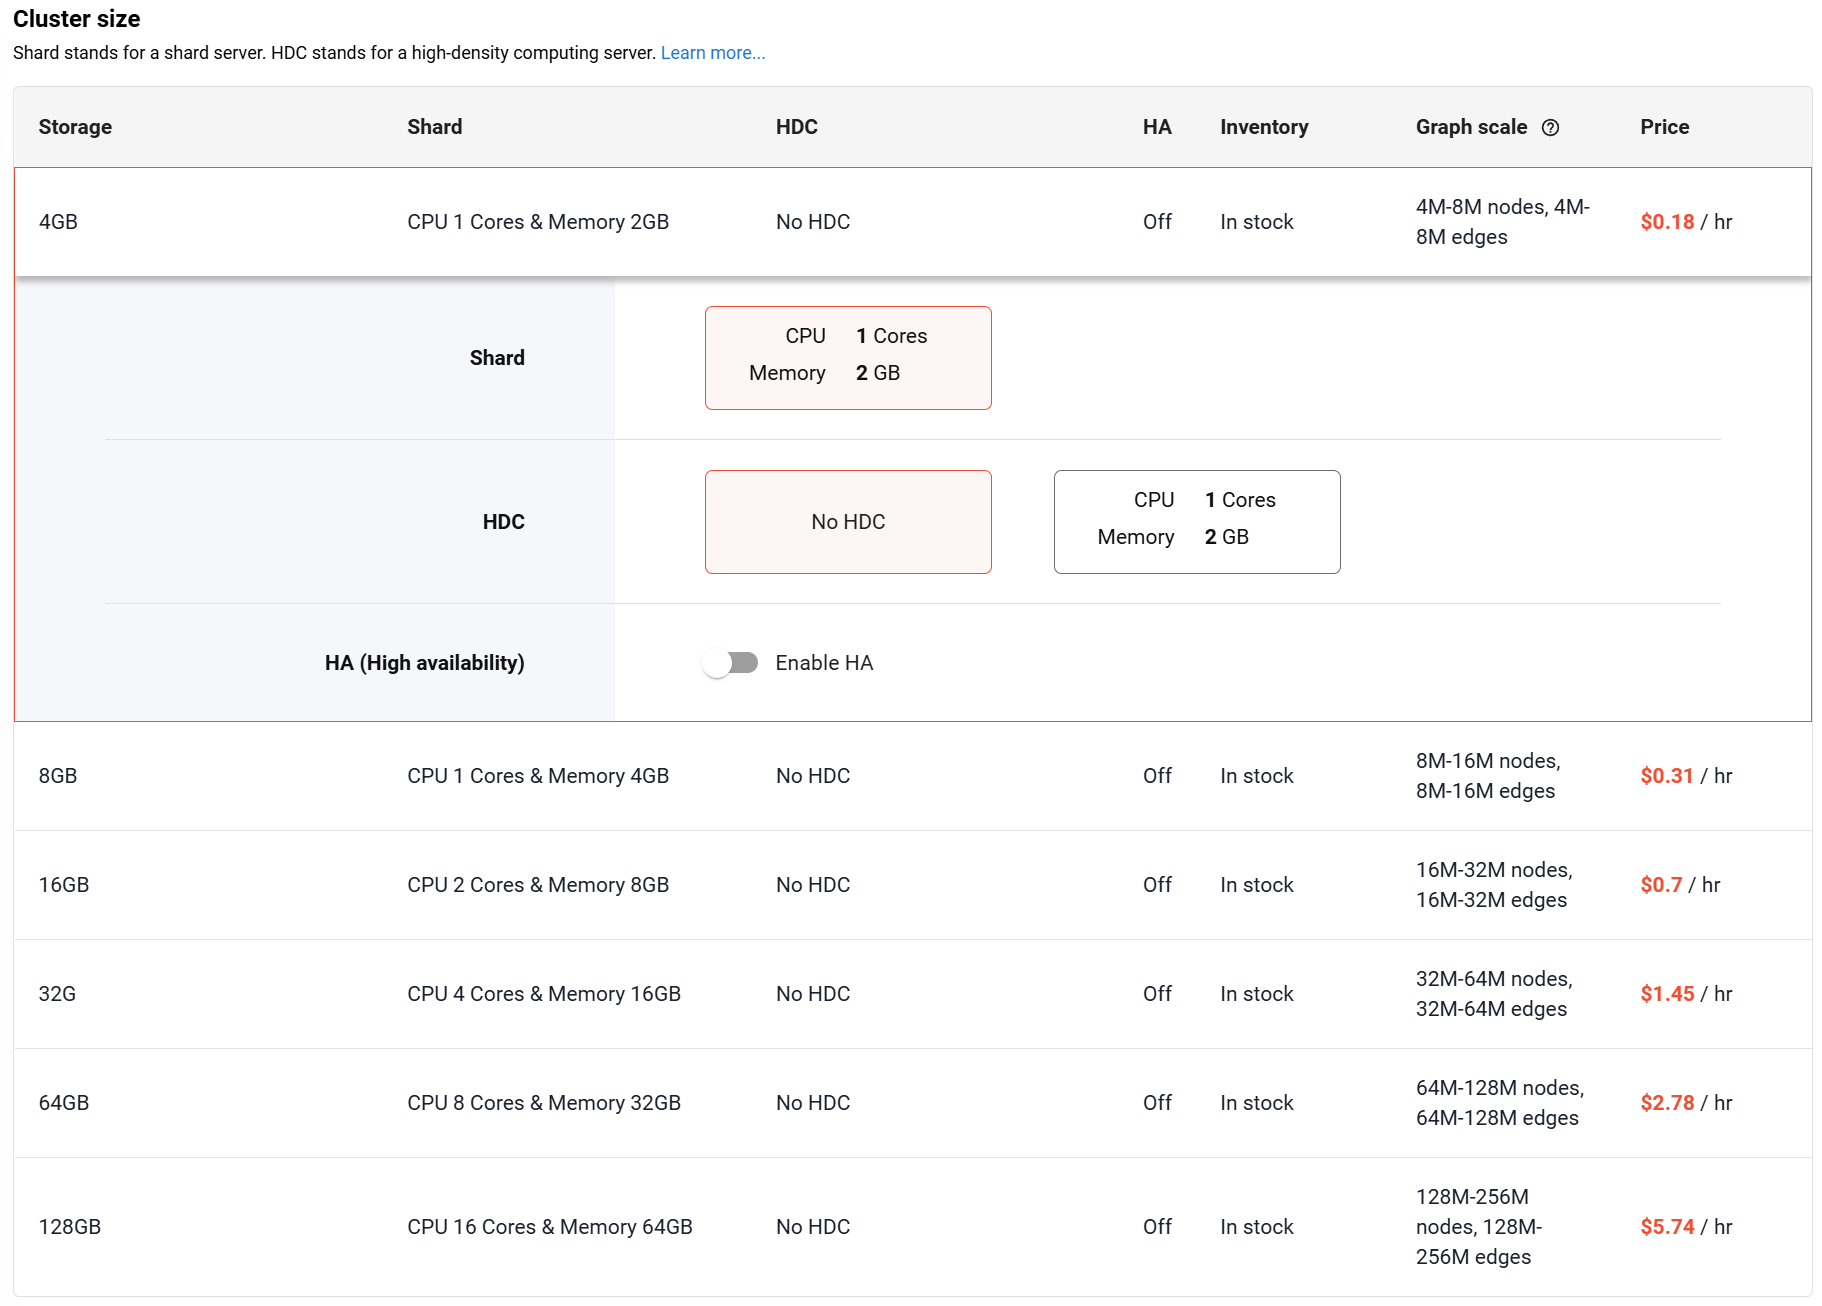
- Storage: The total data storage limit for your instance. Use the estimated Graph scale as a reference for your choice.
- Shard: Choose the CPU and memory for your shard server, which stores and processes your graph data.
- HDC: (High-Density Computing) Configure the CPU and memory for your HDC server. Note that running graph algorithms requires an HDC server, which are not selected by default.
- HA: (High Availability) When enabled, three replicas of the shard server are created to ensure data redundancy and fault tolerance.
-
Click Next: Settings to continue. Provide a Cluster name and select the product Version. We recommend choosing the latest version unless your project has specific requirements. You can always update to a newer version as they are released.
-
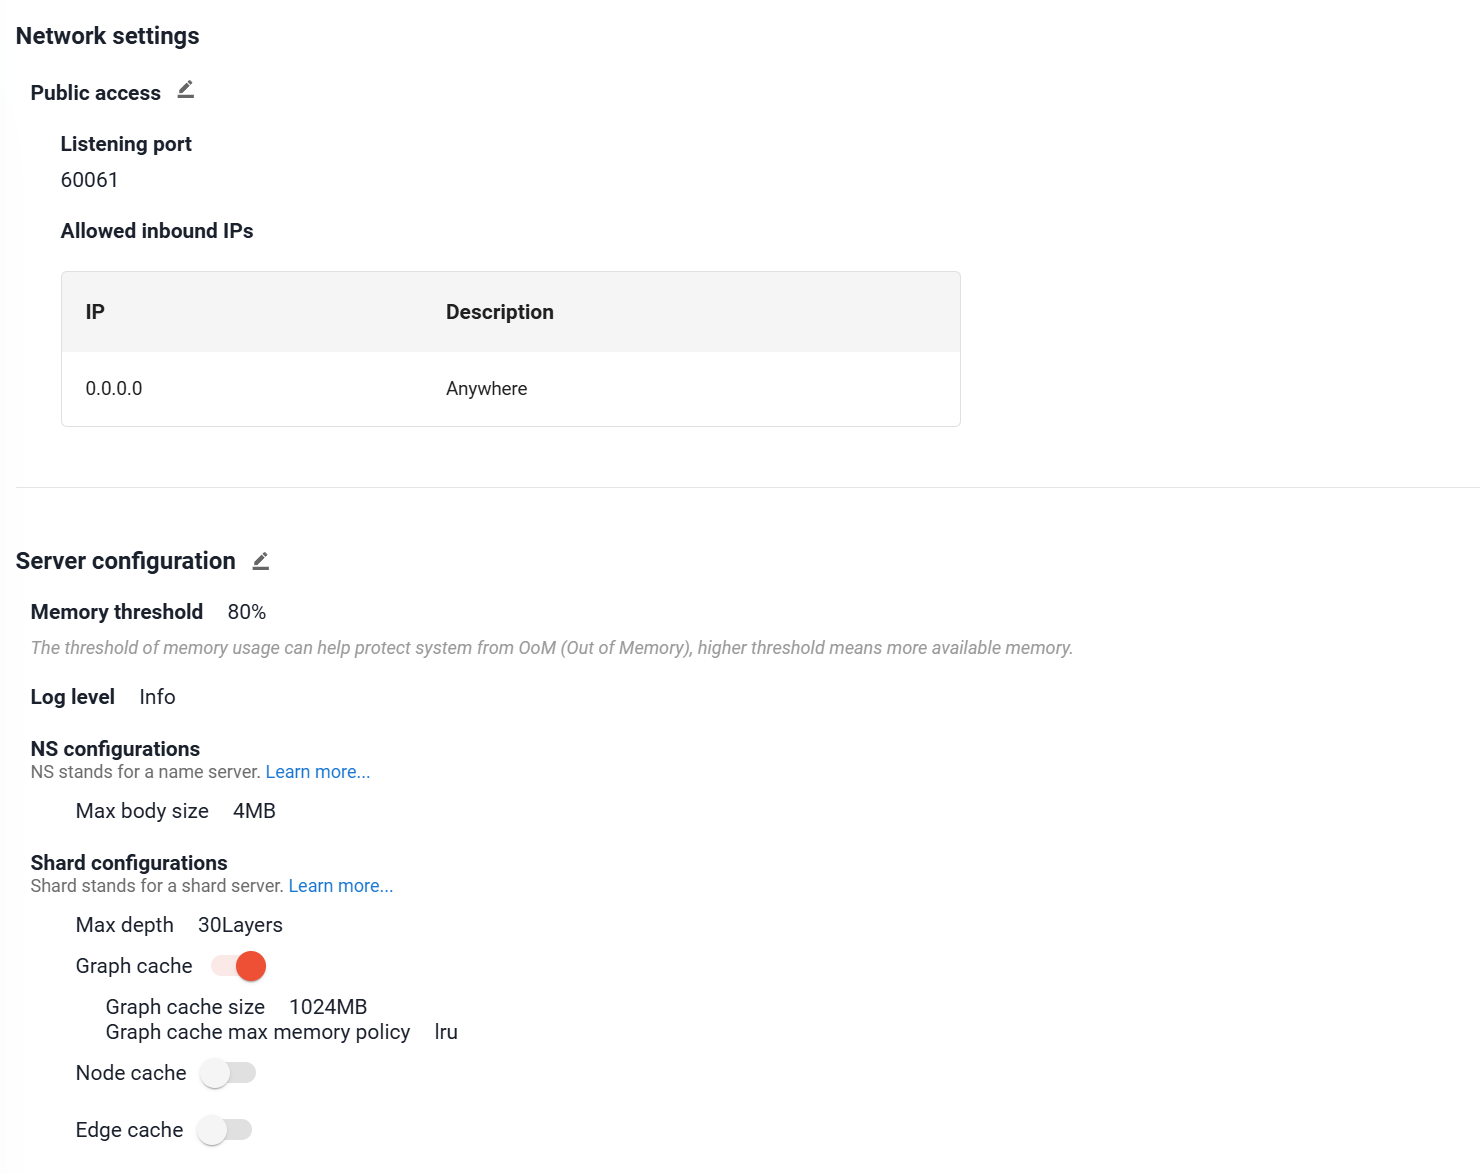
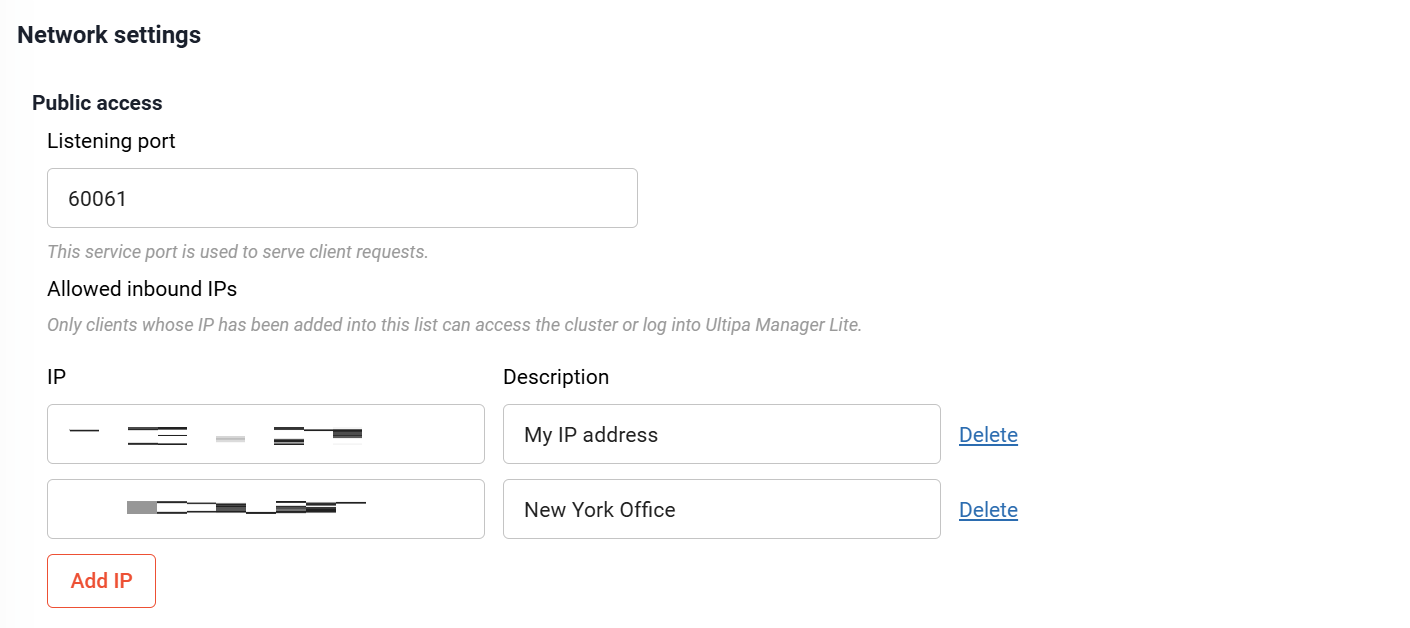
Under Network settings, you can adjust the Listening port and Allowed inbound IPs for your instance. To allow unrestricted access, select 0.0.0.0 (Anywhere).
⚠️ Warning: This setting makes your instance publicly accessible and is not recommended for production environments.
- Under Server configurations, you can set the following parameters to optimize your instance:
- Memory threshold: The memory usage limit to prevent the system from running out of memory (OOM). Higher value allows for more memory usage.
- Log level: The logging verbosity for your instance. Options include Fatal, Warning, Info, and Debug.
- Max body size: The maximum size of RPC messages.
- Max depth: The maximum search depth for path-finding queries.
- Enabling Graph cache, Node cache, and Edge cache improves query performance by loading data into memory, but will also increase memory consumption.
-
Click Start to create your instance. If a payment method has not yet been added to your account, you will be prompted to set one up before the instance is created.
-
A pop-up window will appear prompting you to save the root password for the instance. Be sure to download and save it properly.

Instance initialization will take a few minutes. Once the process is complete, you'll be able to connect to your instance.

Connect to an Instance
To connect to your Manager instance, please ensure its status is Active.
If the instance is stopped, click Action > Start. If it's already running but unresponsive, you can click Action > Restart to reboot the instance.
You have the following connection methods:
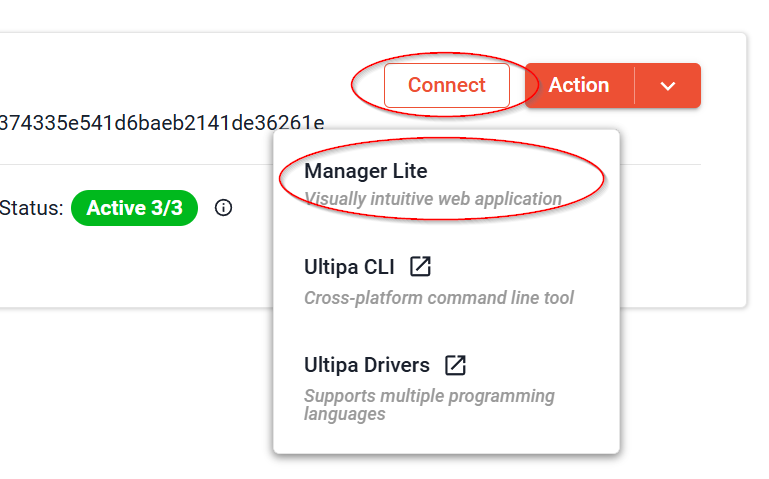
Manager (Lite)
Manager (Lite) is included with all Graph Powerhouse instances. To access it, simply click Connect > Manager Lite.
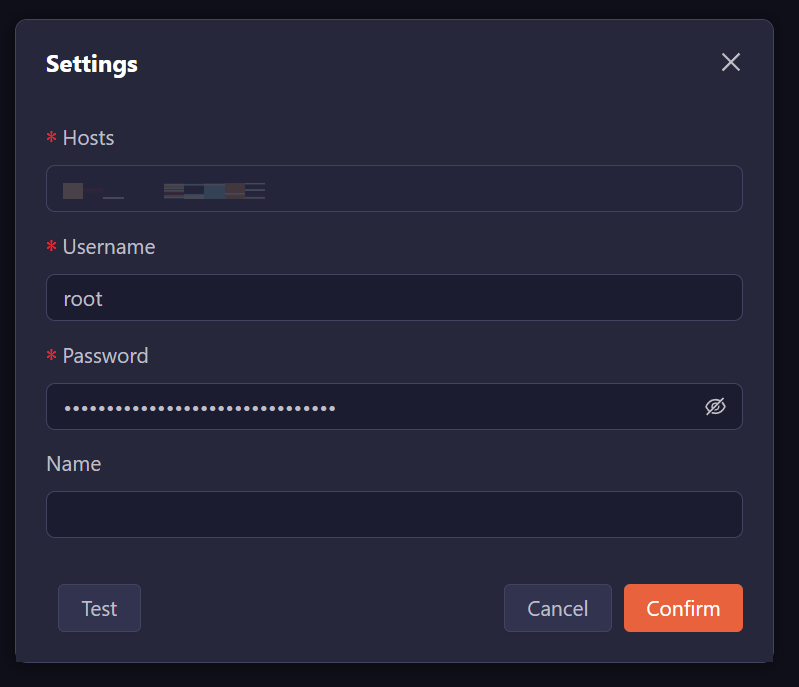
Manager (Lite) will be opened in a new browser tab. The first time you connect, you will be prompted to enter your instance's connection details:
- Hosts: The public address of the instance is pre-filled.
- Username: Enter root.
- Password: Enter the root password you saved during the instance's creation. If you forgot it, you can reset the root password.
- Name: Optional custom instance name.
Click Confirm to save the connection.
Click Open to open the instance and add your first graph by simply entering a name for it and click Confirm:
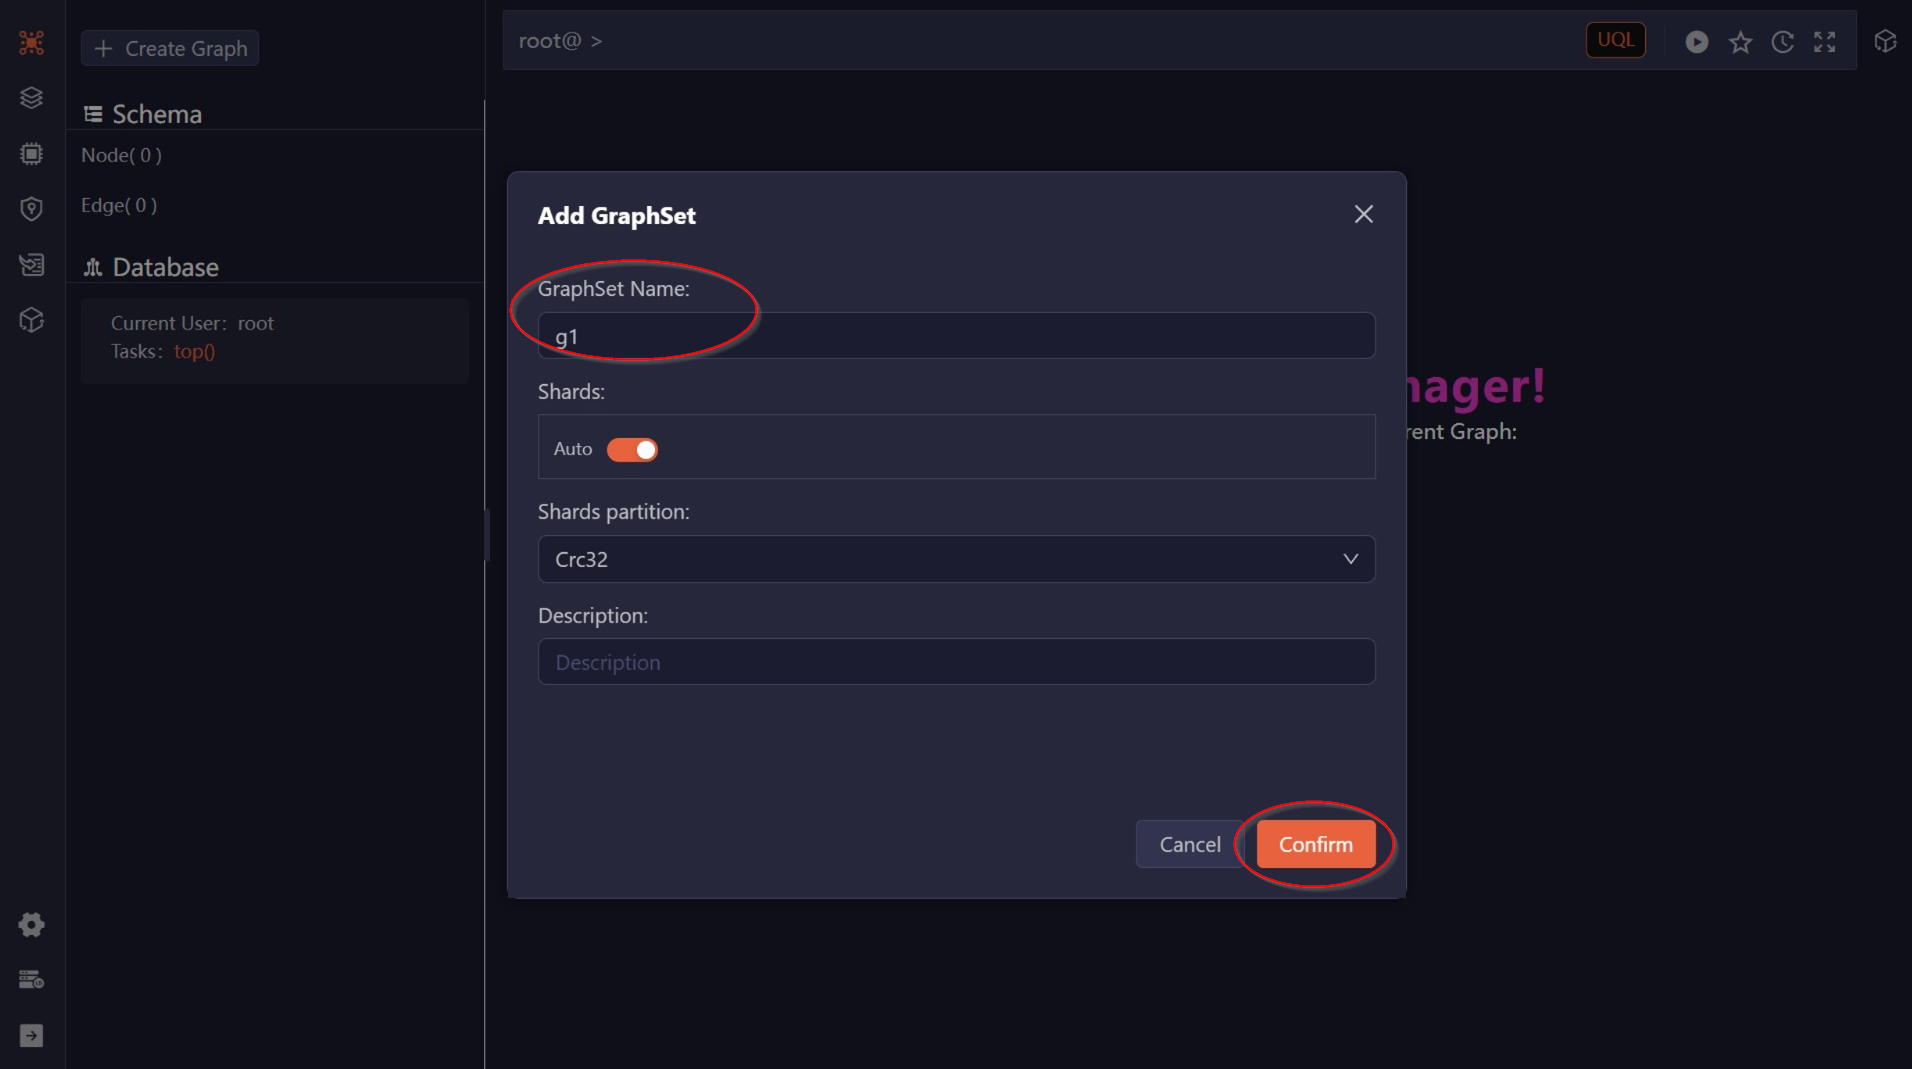
Next, you can insert nodes and edges into the graph and execute queries.
Manager
If you have a Manager instance running, you can connect to the new Graph Powerhouse instance from it.
Ultipa Drivers
You can connect to the Graph Powerhouse instance from your application:
Ultipa CLI
You can connect to the Graph Powerhouse using Ultipa CLI, a cross-platform (Windows/Mac/Linux) command line interface designed for executing queries against Ultipa graph databases. Learn more
Control the Instance
You can control your instance using the Stop, Restart, and Terminate found under the Action menu:
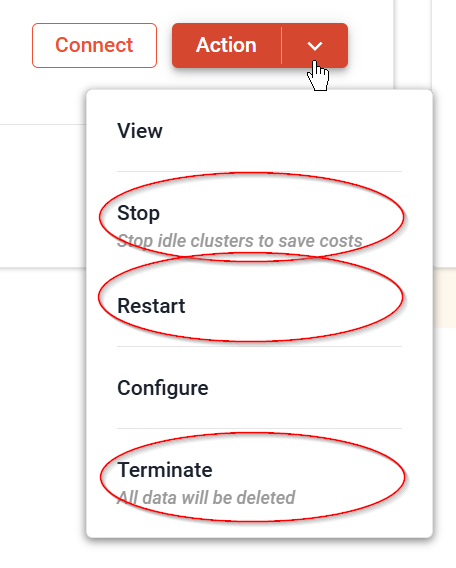
Restart
If your instance is running but becomes unresponsive, you can Restart it to restore its functionality.
Stop
To save on costs when an instance is not in use, you can Stop it. While stopped, you will only be charged for storage.
Terminate
To permanently delete your instance and all of its data, click Terminate.
⚠️ Warning: Terminating an instance is a final, irreversible action. All data and configurations will be completely and irrevocably deleted.
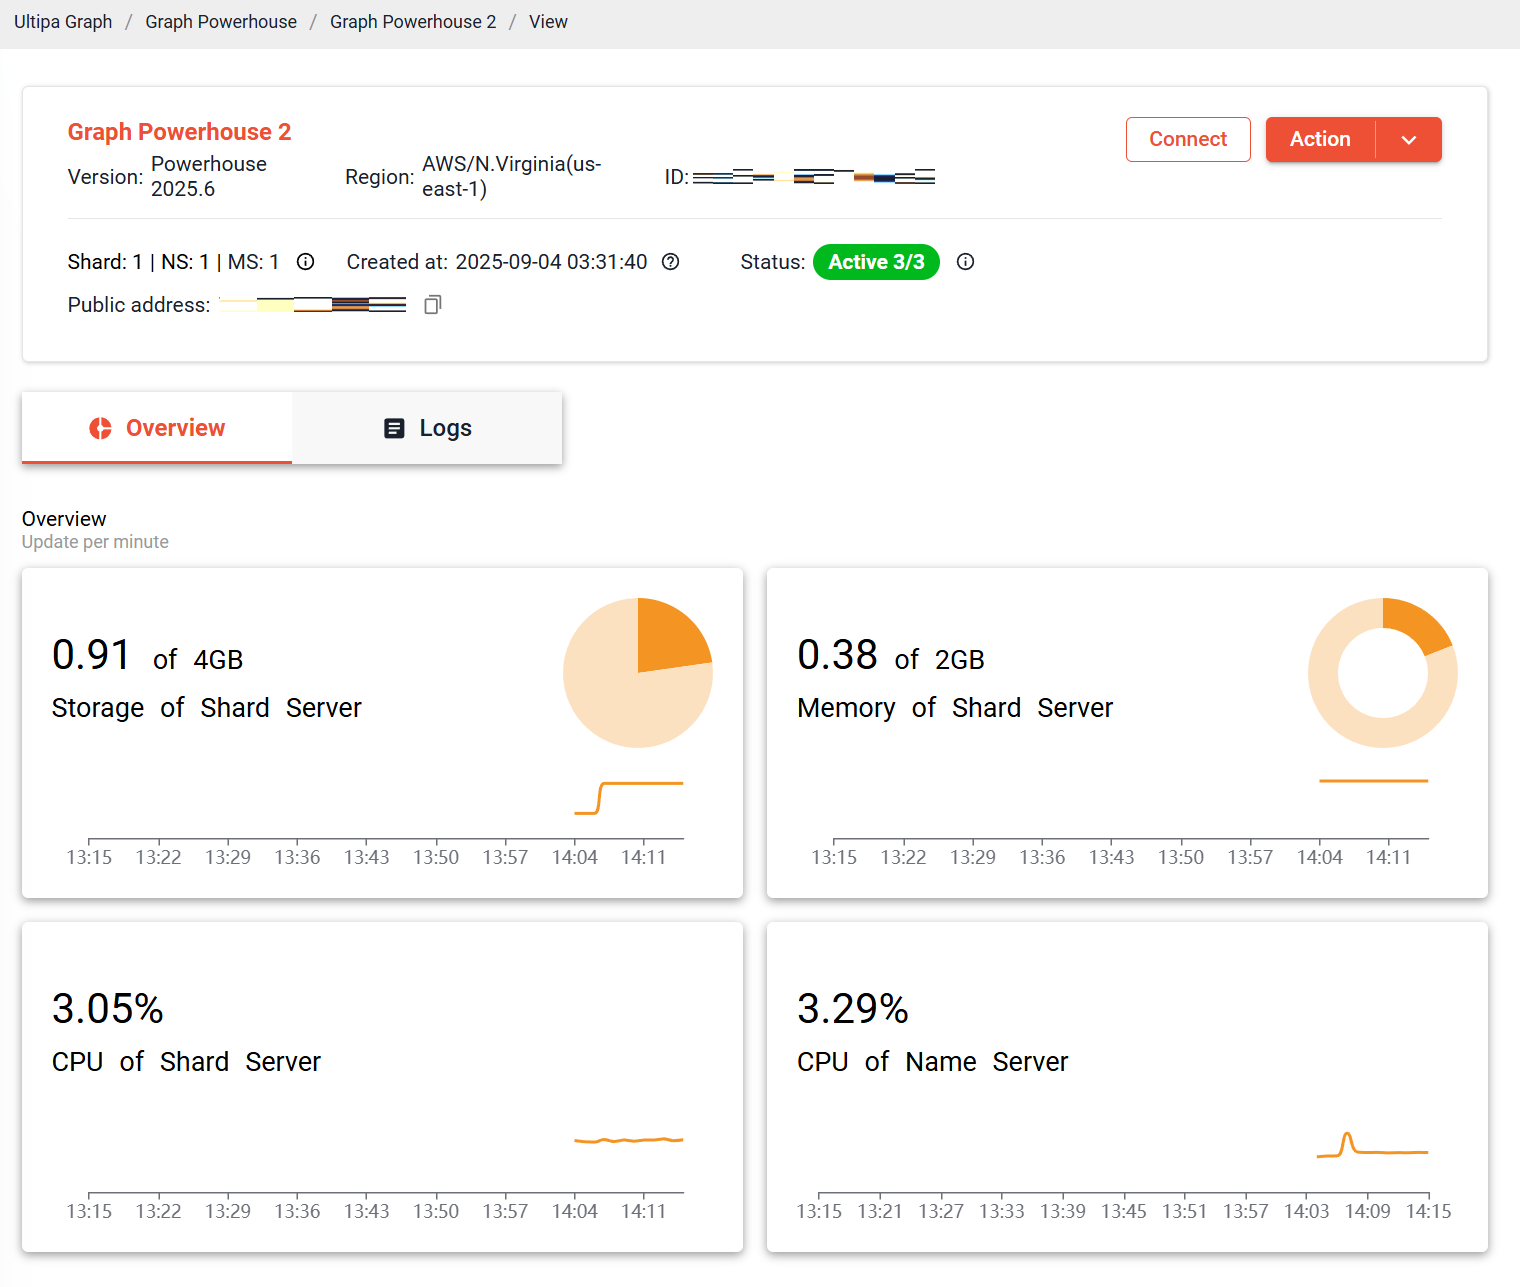
Monitoring and Logs
To monitor your instance's performance and view server logs, click Action > View. You'll be able to track storage, CPU, and memory usage, as well as access detailed logs.
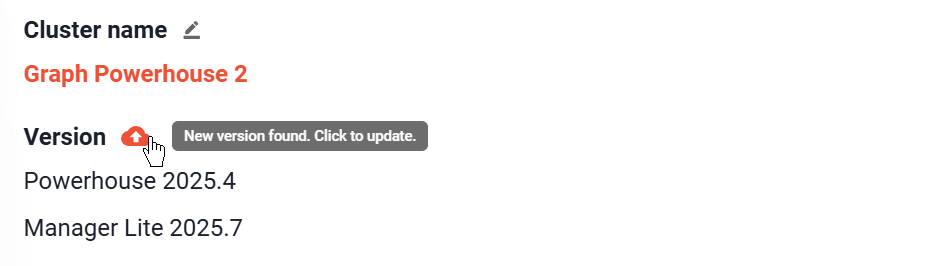
Version Update
You can check and update the versions of your Graph Powerhouse and the bundled Manager (Lite) instances by clicking Action > Configure. Any available updates for either instance will be displayed in this section.
Reset Root Password
To reset the password for the root user of the database, click Action > Configure and scroll down to the Account setting section.

Backup & Restore
To manage your database backups and restorations, click Action > Configure and scroll down to the Account setting section.

When restoring a backup, you can choose to restore it to the original source instance or to a new instance.
Change Instance Configuration
To adjust your Network settings and Server configuration, click Action > Configure.