Manager is a web platform for managing and interacting with your database instances. It offers a highly visualized and intuitive interface for data management and migration, querying and analytics, visualization, etc.
Manger vs. Manager (Lite)
Each database instance (i.e., a Graph Powerhouse) includes a built-in Manager (Lite), which can connect only to the specific database instance it was created with and offers a limited set of features.
In contrast, a standalone Manager instance provides the full feature set and can be used to manage all your database instances.
Create an Instance
To begin, sign in to cloud.ultipa.com. Navigate to the Ultipa Graph > Manager section, click Create and select the Standard plan.
You can now proceed with the following setup:
-
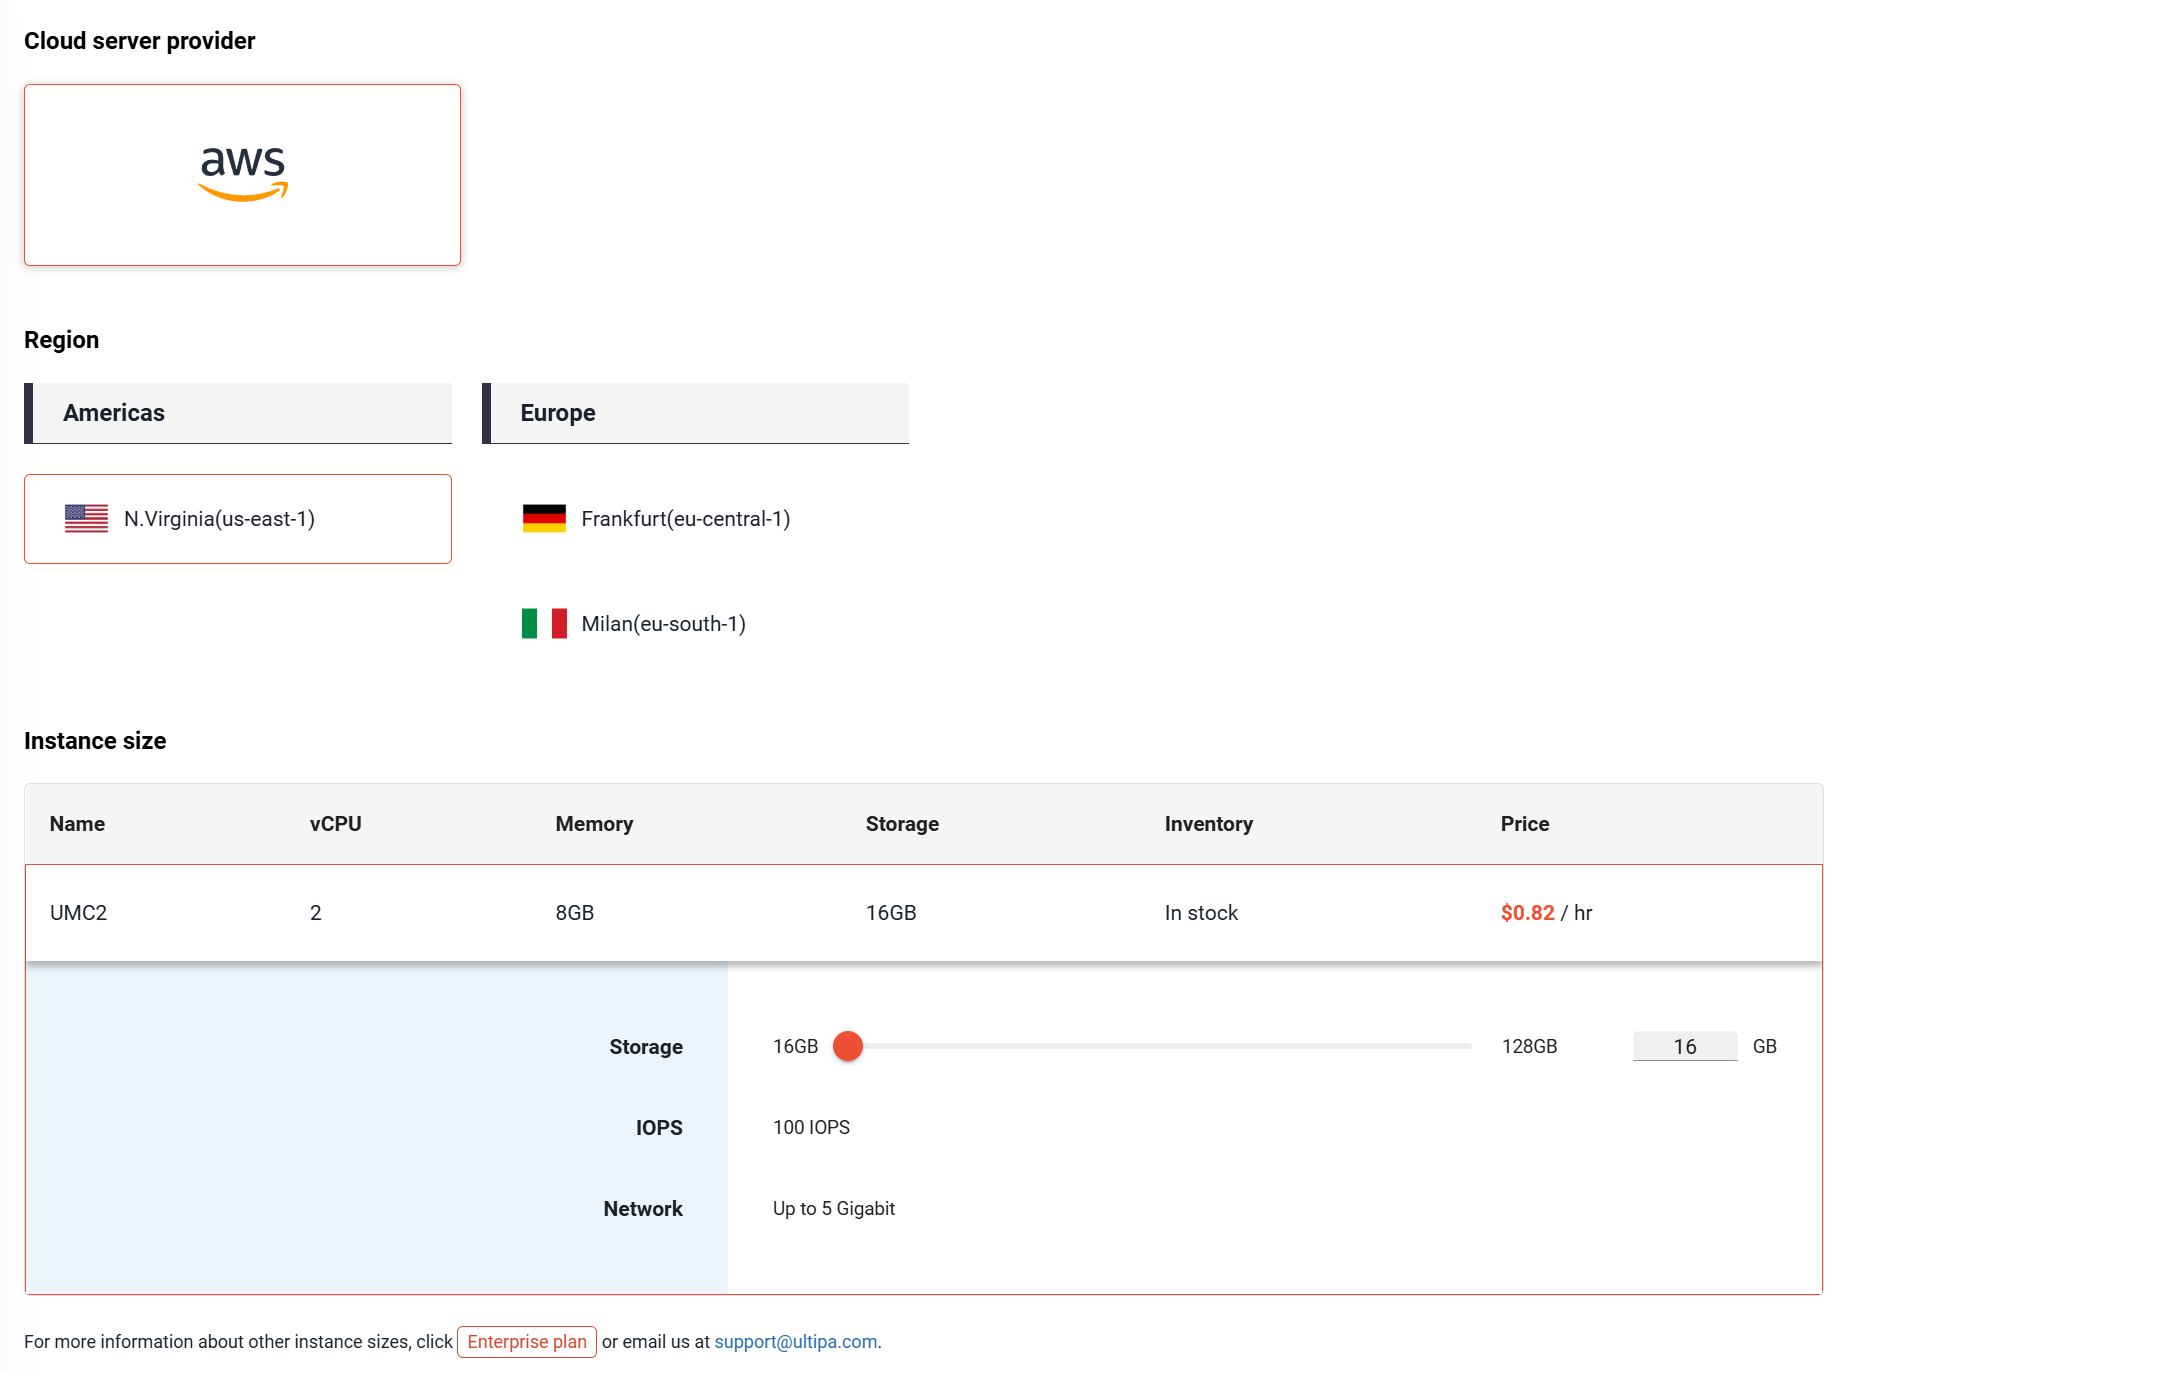
Choose your Cloud server provider and a Region that best suits your needs, typically one geographically close to your users.
-
Adjust Storage under the Instance size that meets your requirements.
-
Click Next: Settings to continue. Provide a Manager name and select the product Version. We recommend choosing the latest version unless your project has specific requirements. You can always update to a newer version as they are released.
-
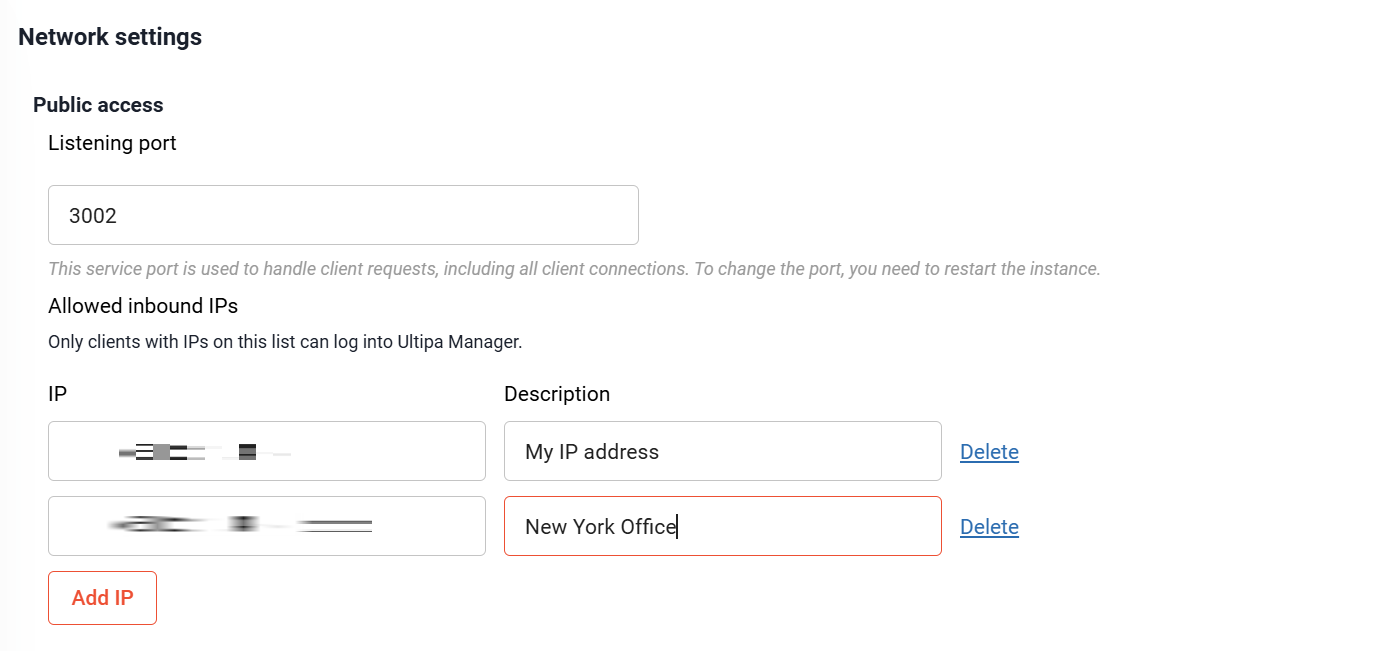
Under Network settings, you can adjust the Listening port and Allowed inbound IPs for your instance. To allow unrestricted access, select 0.0.0.0 (Anywhere).
⚠️ Warning: This setting makes your instance publicly accessible and is not recommended for production environments.
-
Click Start to create your instance. If a payment method has not yet been added to your account, you will be prompted to set one up before the instance is created.
-
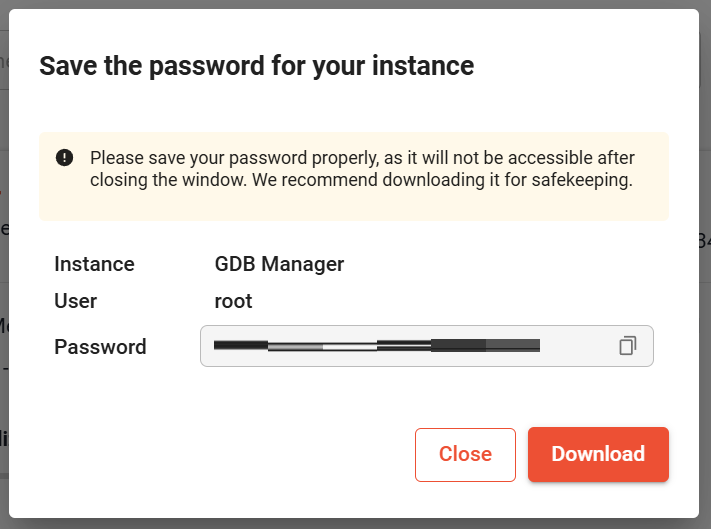
A pop-up window will appear prompting you to save the root password for the instance. Be sure to download and save it properly.
Instance initialization will take a few minutes. Once the process is complete, you'll be able to connect to your instance.

Connect to an Instance
To connect to your Manager instance, please ensure its status is Active. If the instance is stopped, click Action > Start. If it's already running but unresponsive, you can click Action > Restart to reboot the instance.
For an active Manager instance, simply click Connect:

Log in to Manager
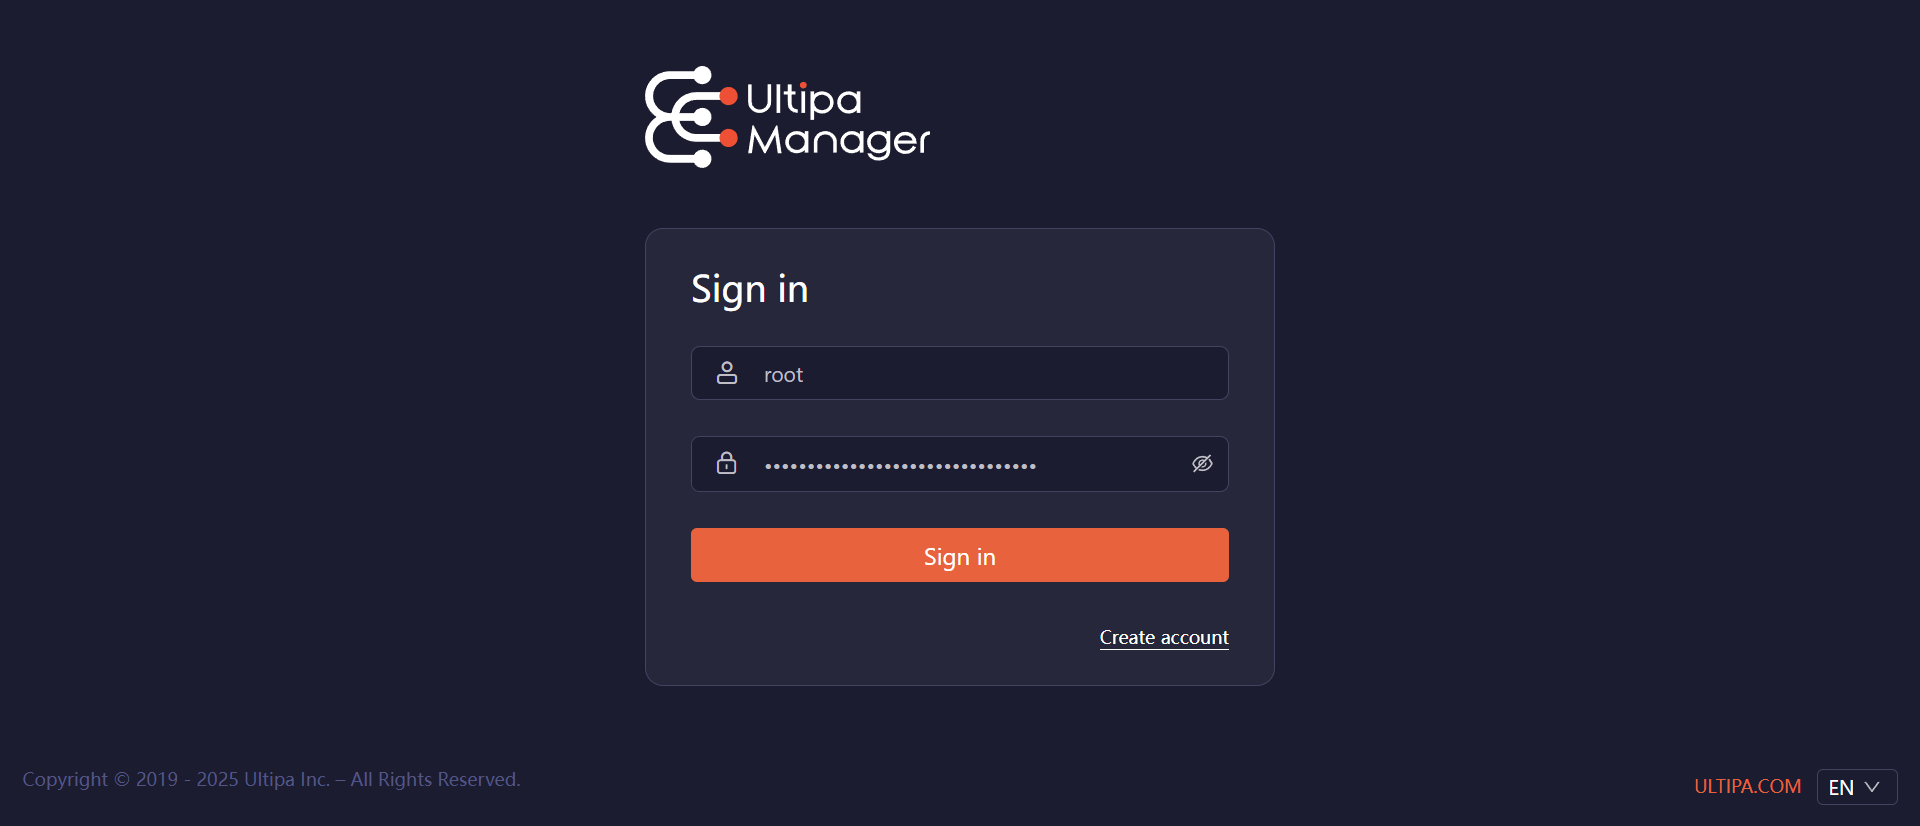
Ultipa Manager opens in a new browser tab. The first time you connect, you will be prompted to sign in. You can log in either as an admin or as a normal user:
- Admin login: Enter the username root and the root password you saved during the instance's creation. If you forgot it, you can reset the root password.
- Normal user login: Click Create account to register, then sign in with the new account.
Add Instances
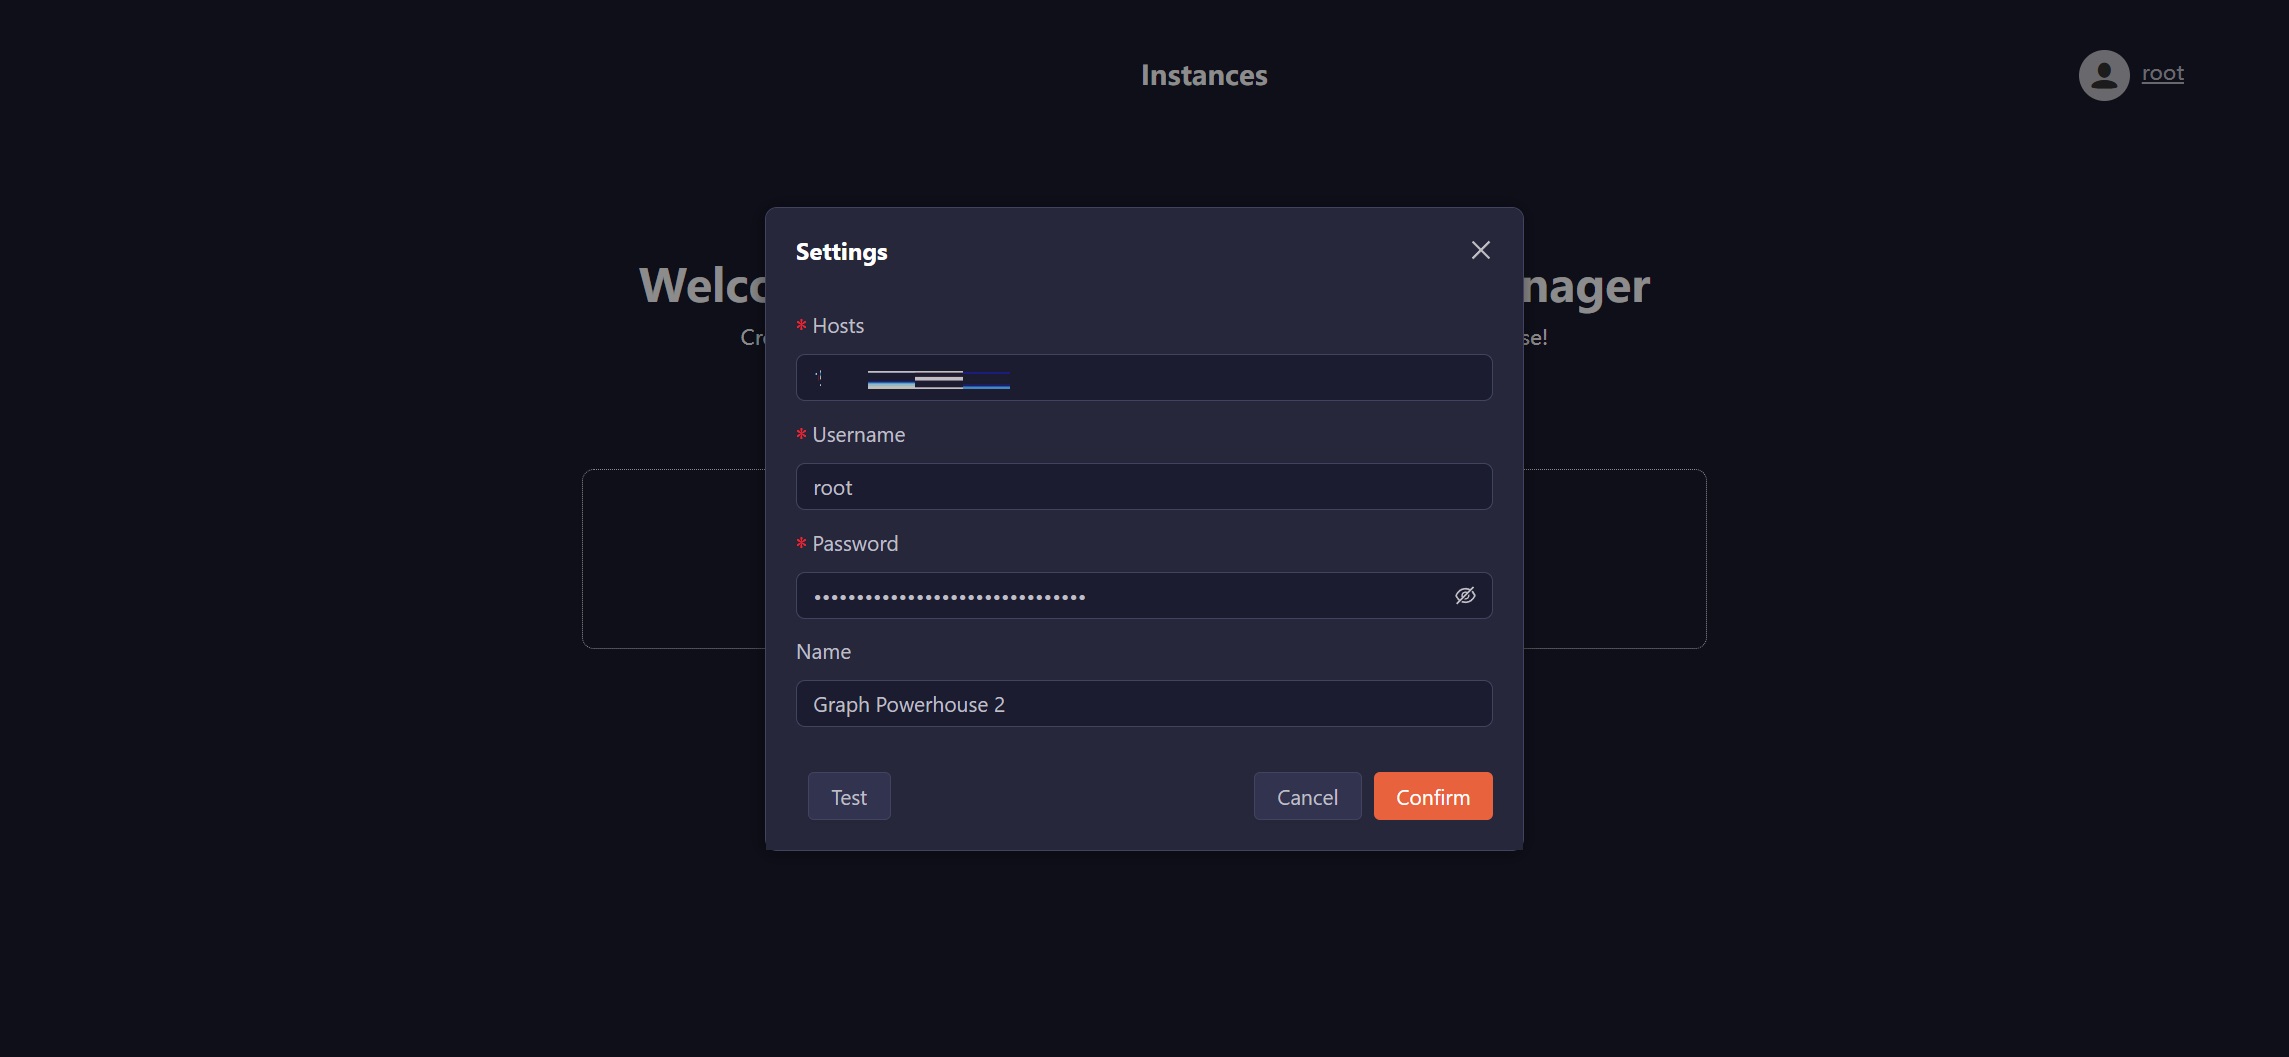
Once you’re logged in to Ultipa Manager, you’ll land on the Instances page, where you can add connections to your databases.
Click New Connection and provide your instance's connection details:
- Hosts: The public address of the instance.
- Username: Enter a database username.
- Password: Enter the password of the database user.
- Name: Optional custom instance name.
Click Confirm to save the connection.
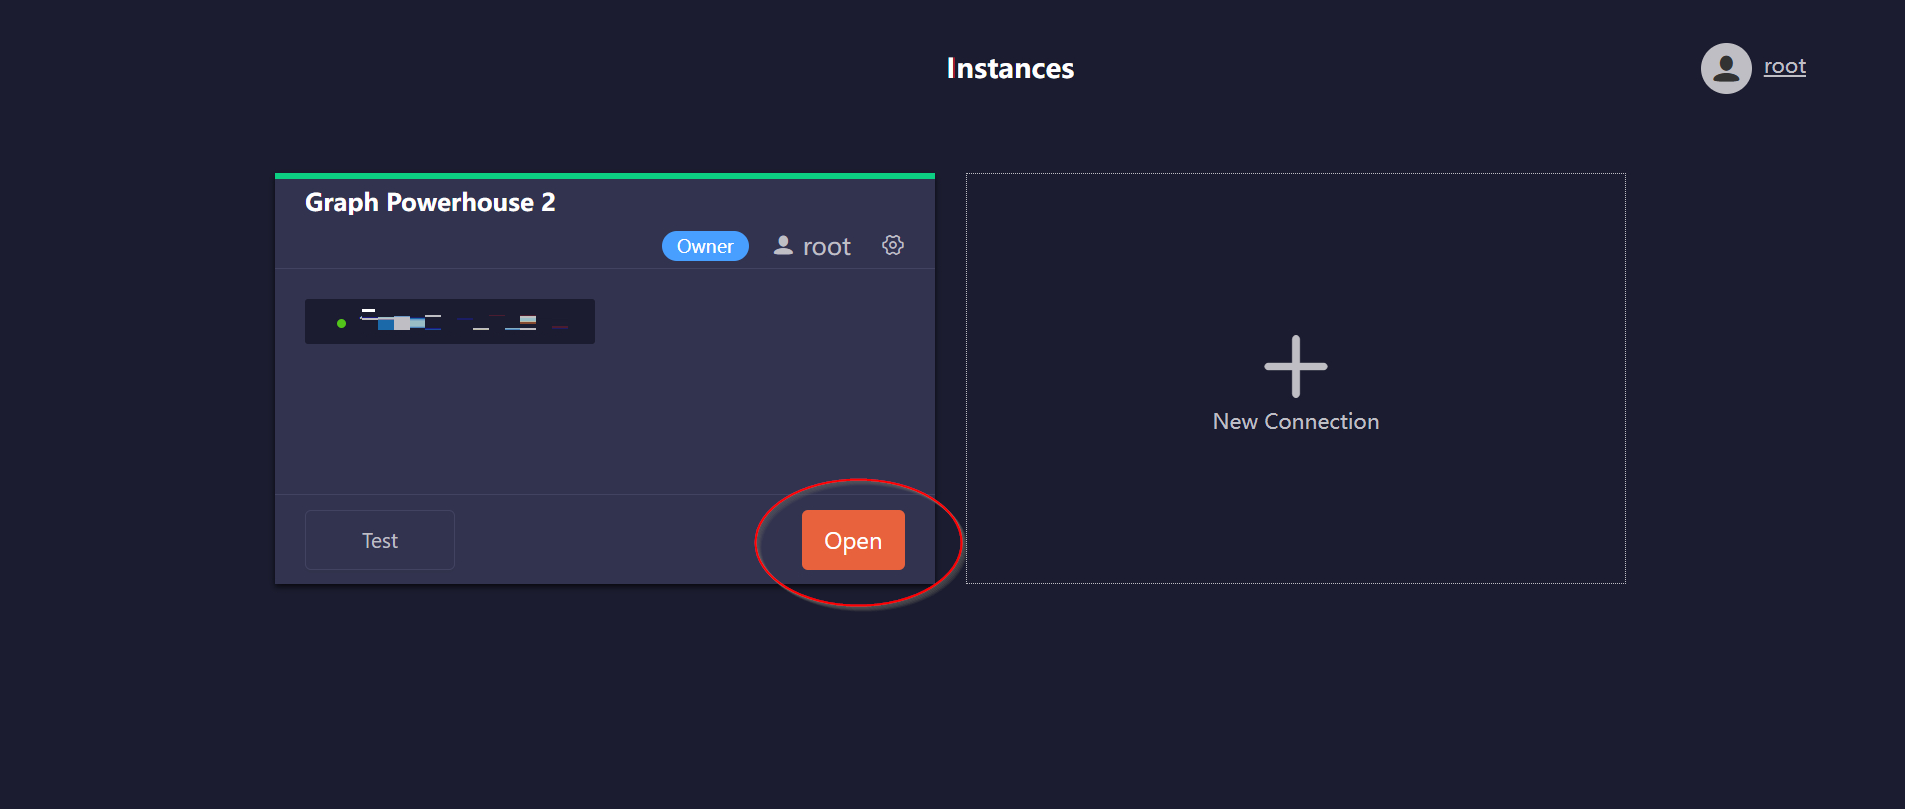
Click Open to enter the database instance, for details on features available in Manager within an instance, see the Ultipa Manager User Manual.
Control the Instance
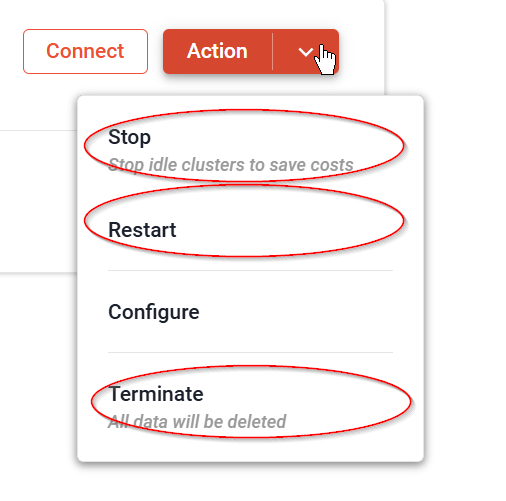
You can control your instance using the Stop, Restart, and Terminate found under the Action menu:
Restart
If your instance is running but becomes unresponsive, you can Restart it to restore its functionality.
Stop
To save on costs when an instance is not in use, you can Stop it. While stopped, you will only be charged for storage.
Terminate
To permanently delete your instance and all of its data, click Terminate.
⚠️ Warning: Terminating an instance is a final, irreversible action. All data and configurations will be completely and irrevocably deleted.
Version Update
You can check and update the version of your Manager instance by clicking Action > Configure. Any available update for it will be displayed in this section.

Reset Root Password
To reset the password for the root user of the Manager, click Action > Configure and scroll down to the Account setting section.

Change Instance Configuration
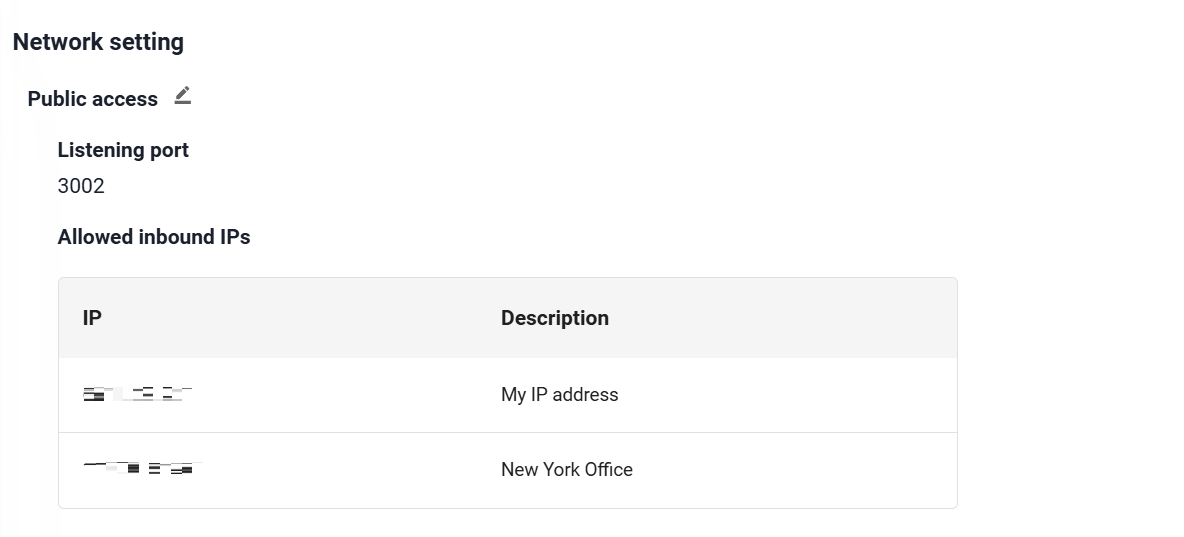
To adjust your Network settings, click Action > Configure.
