GraphSet Management
Create GraphSet
Go to Graph module, and click current graphset name on top of the panel (or at the left end of Web-CLI), all graphsets in the current Ultipa Database are listed:

Click '+' at the top right corner of graphset list to create new graphset:

Rules for graphset name:
- Start with letters [a-zA-Z]
- Only includes underscore (_), numbers [0-9] or letters [a-zA-Z]
- Length between [2, 32] ASCII characters
An existing graphset can be renamed. To rename a graphset, click 'Edit' to the right of the graphset in the list:

'Used' in the row indicates the current graphset; click 'Select' to switch from current graphset to a desired graphset.
Manage Current GraphSet
Basic information
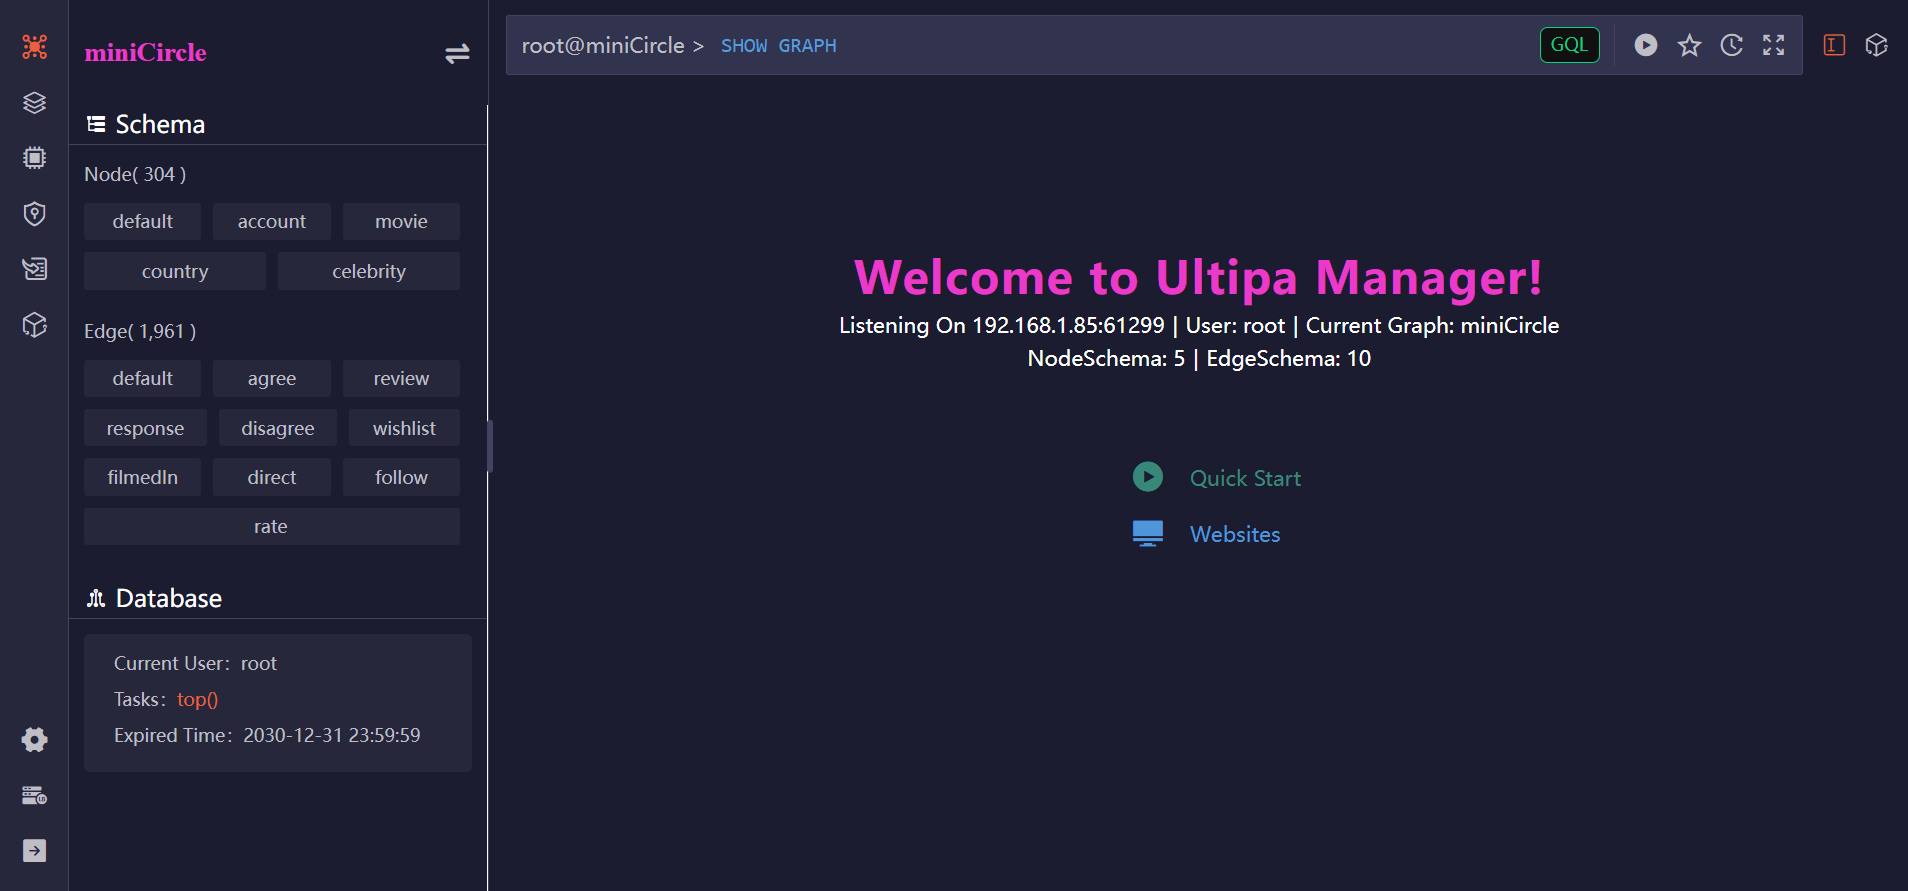
The current graphset panel will show or hide upon clicking Graph module in the sidebar. Basic information of current graphset includes:
- number of nodes
- list of node schemas
- number of edges
- list of edge schemas
- list of indexes
- list of cluster instances (click to switch instance)
- current user

Schema and Property Operations
Schema Panel
The schema panel will show or hide upon clicking Schema module in the sidebar:
represents node or edge
、
represent schema
represents property (LTEed if in red color)
Refer to chapter of Terminologies for the concept of LTE and UFE.

Create Schema
Click 'New Schema' to the right of 'Node' or 'Edge' in the schema panel to add new schema. Take node for example:

Rules for schema name:
- Start with letters [a-zA-Z]
- Only includes underscore (_), numbers [0-9] or letters [a-zA-Z]
- Length between [2, 32] ASCII characters
Hover mouse over a schema and click the 'Edit' or 'Delete' icon in the slide-out menu will trigger relative functions.
Operations on edge schemas are similar.
Create Schema Overview
Schema overview is also called graph modeling, it is an efficient way to reveal how nodes of different schemas are connected by edges of different schemas, by weakening the property information of each node and edge.
Click the 'Schema Overview' on the bottom of schema panel, and draw nodes and edges in the pop up canvas:

Create Property
Hover mouse over a schema, click the '+' in the slide-out menu to create property for this schema. Take node for example:

Rules for property name:
- Start with letters [a-zA-Z]
- Only includes underscore (_), numbers [0-9] or letters [a-zA-Z]
- Length between [2, 32] ASCII characters
Hover mouse over a property and click the 'LTE', 'UFE', 'Edit' or 'Delete' icon in the slide-out menu will trigger relative functions.
Operations on edges properties are similar.
Meta-data Operations
Single Insertion
To add a single meta-data, go to Shrotcut module in the sidebar and click the 'new Node' or 'new Edge' button on the top.
To insert a node:

To insert an edge:

Note: the above shortcut of meta-data insertion does not support specifying the _id or _uuid, which will be automatically generated by system.
Batch Import
Meta-data can be imported in bulk from a local file. Four steps are required to complete a batch import operation:
- Upload: select and upload a data file from local folder;
- Configure: declare column delimitor and whether the column header (property names) is included in the file;
- Specify Header: select schema, specify property name and data type of each column, and create the properties that do not exist in the selected schema;
- Import: import meta-data from the file to the current graphset, either upsert or overwrite.
The File module in the sidebar contains a list of recent import records in the 'Import' section, in time descending order. Click the '+' to the right of 'Import', and click the metadata type to be imported:

A data file with node or edge information should be ready at this stage. Prepare a csv node file with below data for example:

Note: users can specify, or not, the _uuid of each meta-data in the file; valid file format are csv, txt, etc.
Click '+ Node' in previous step, upload the node csv file, and click 'Configure' after the upload finishes:

Set column delimitor and declare the column header of the data file. In this example, a csv file uses comma (,) as column delimitor, and the column header is included in the file. Click 'Preview' to check whether the data is parsed correctly:

Incorrect configuration of data format can be detected from the preview page. See an example of preview page resulted from a wrong configuration:

Click 'Next' and select the correct schema of the data. If new properties are recognized for the selected schema, namely there are columns that have no names or have names but are not existing in the schema, they should be set with names and selected with data types, and further be created:

When all the new properties are created, specify the insert mode (upsert/overwrite) and start the import operation:

An import operation with successful uploading procedure will be shown in the recent import list, of which the subsequent steps can be retrieved. Click 'Import' or 'Configure' of a record to recall the respective steps:

Procedure of importing edge file can be inferred from above. Note that the edge data file must contain at least the from node id and the to node id:

Batch Export
Corresponding to batch import, Ultipa Manager provides batch export of meta-data into csv file, with column delimited by comma (,):

One thing to mention, properties can be selected when exporting meta-data of only one schema, while all properties will be exported if exporting multiple schemas at a time.