Visual Studio Code
Overview
Visual Studio Code (VS Code) is a versatile development environment that simplifies coding with Ultipa drivers and APIs. You can bring the Ultipa VS Code Extensions to your workflow - to write, validate, and execute ISO GQL queries directly within your coding workspace.
You can download VS Code from here.
Installation
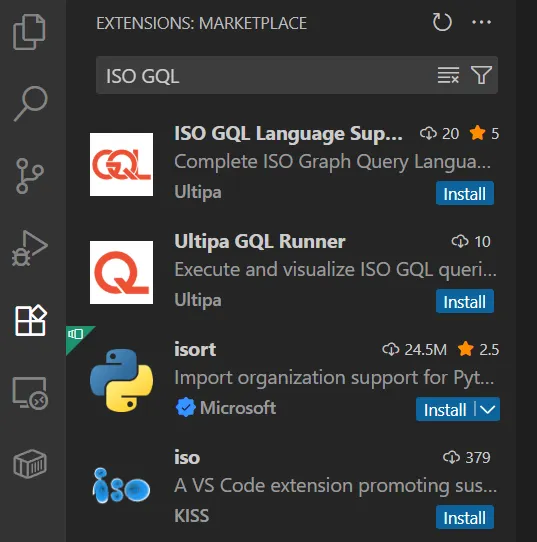
Just search "ISO GQL" in the Extensions Marketplace and grab these two:
- ISO GQL Language Support: Adds
.gqlfile support and GQL syntax highlighting and hints. - Ultipa GQL Runner: Connects to Ultipa graph databases and runs queries.
Add Connections
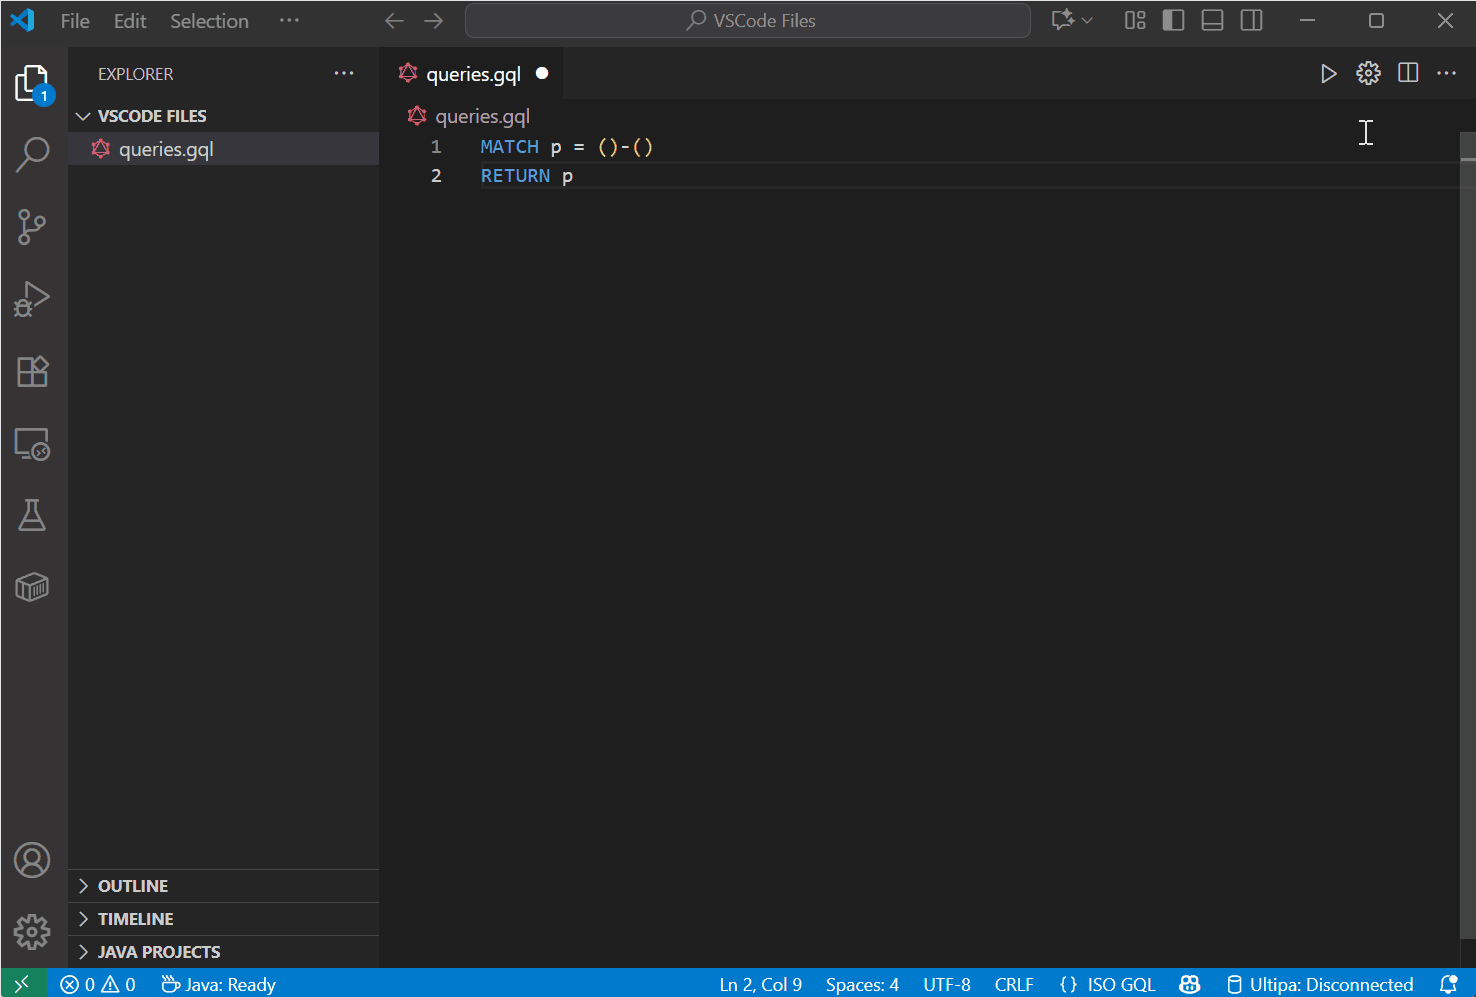
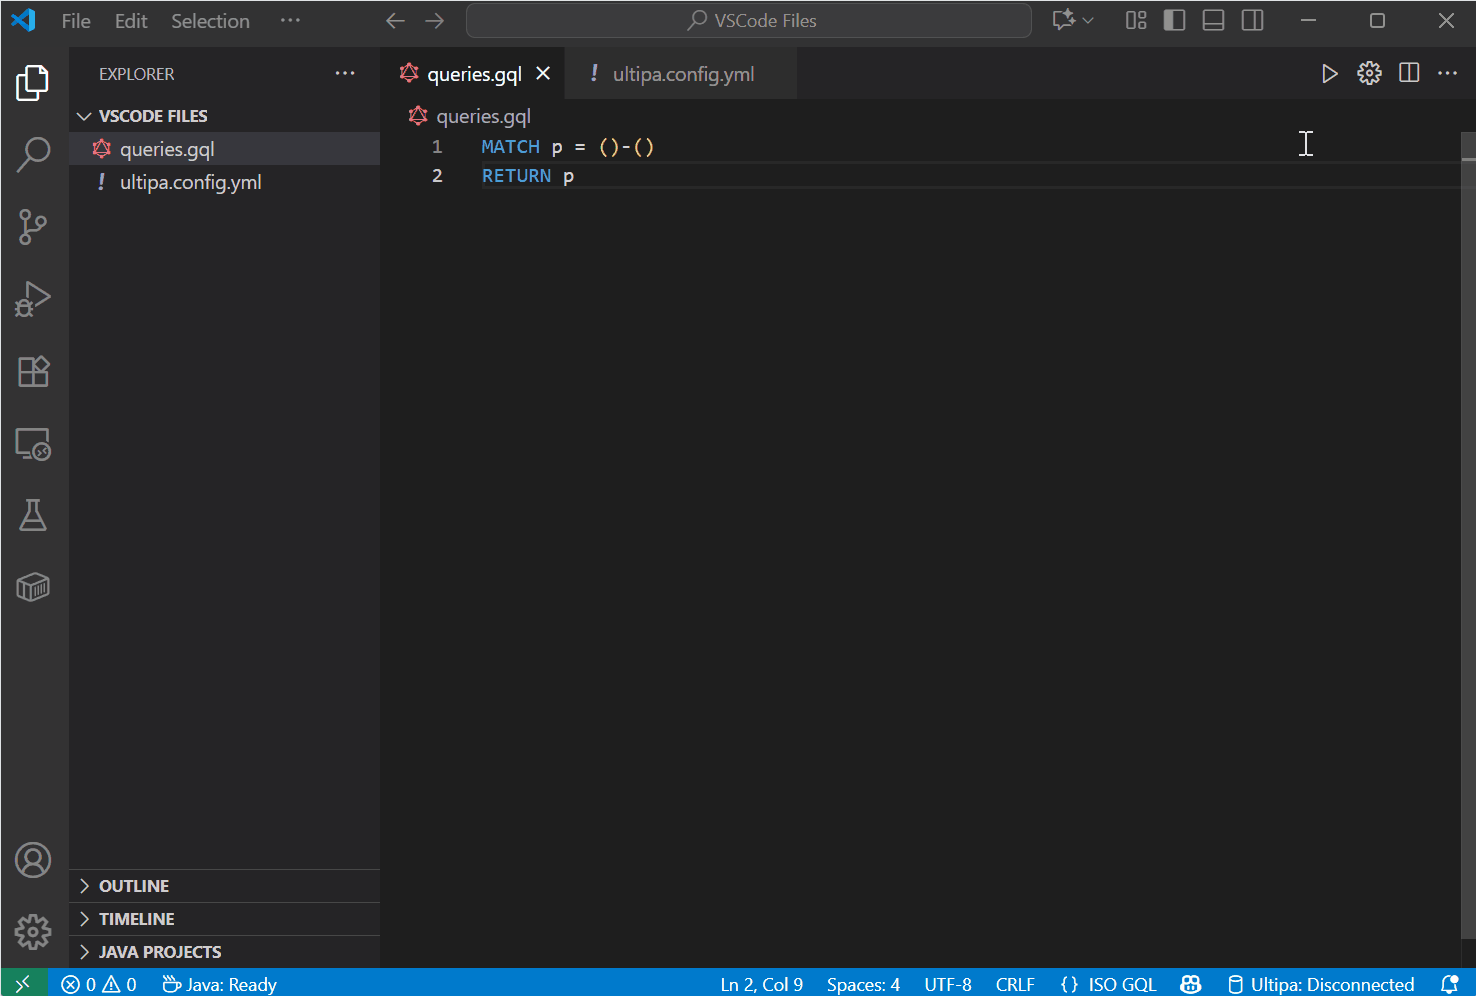
Create a .gql file in VS code and click the gear icon to generate a ultipa.config.yml file in your project:
In the config file, add your database connections under the connections section, like so:
YAMLdefaultConnection: local
connections:
  - name: cloud
    host: 10.xxx.xxx.xxx:xxxx
    username: root
    defaultGraph: miniCircle
    timeout: 30
  - name: local
    host: localhost:60061
    username: admin
    defaultGraph: default
    timeout: 30
You can set whichever one you want as the defaultConnection. The config file also lets you tweak visualization options (node size, edge width, labels, fonts, etc.), but don't stress-defaults work fine to start.
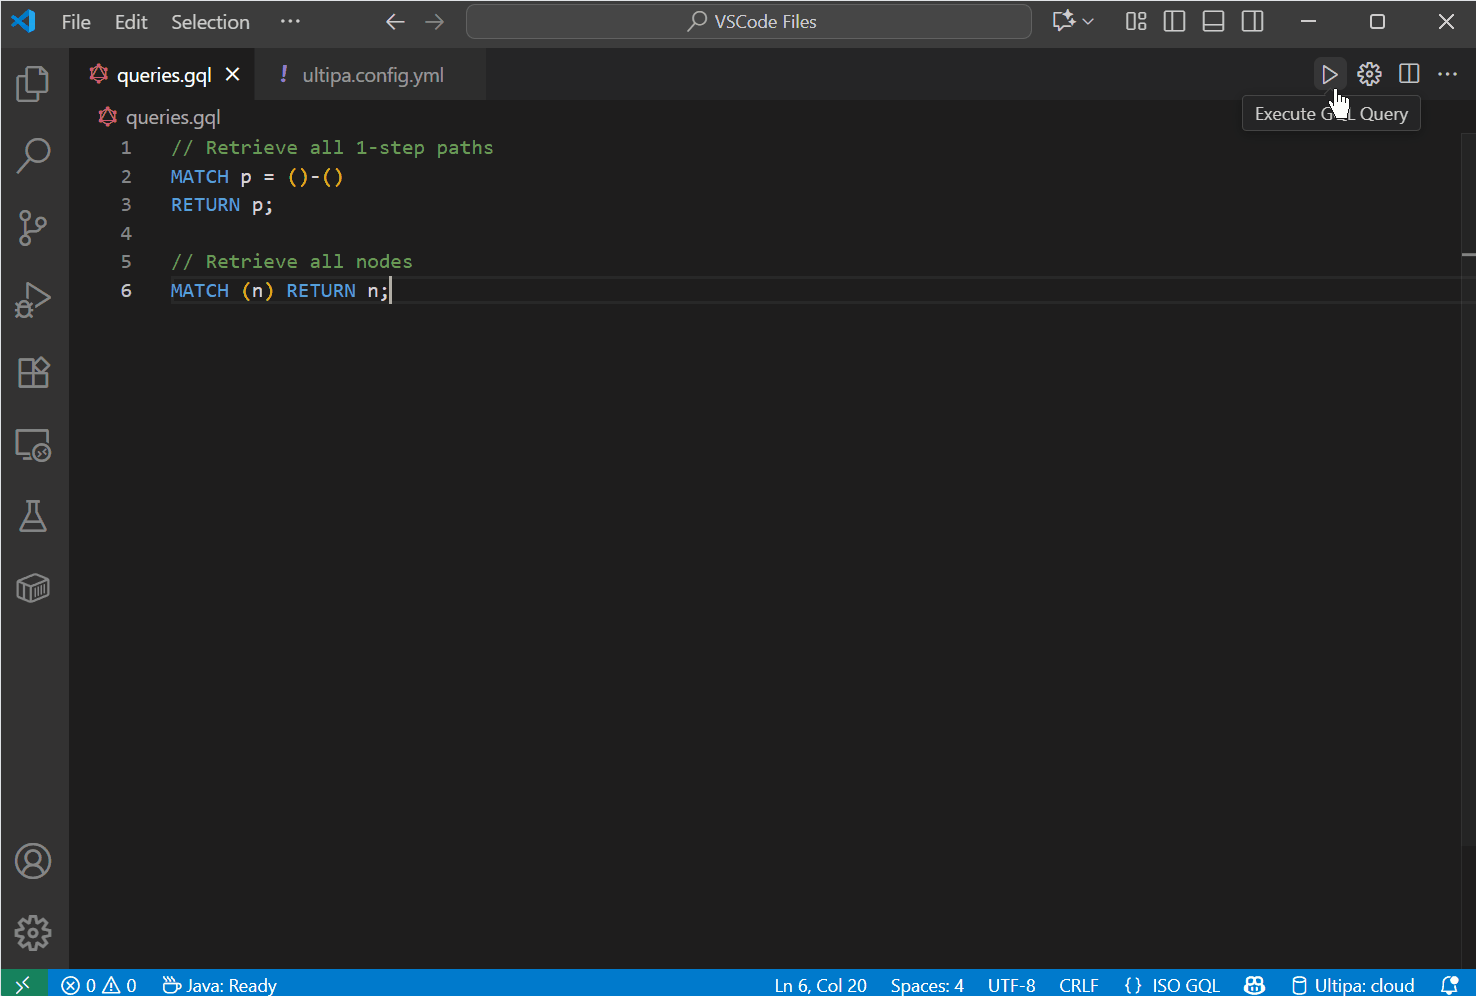
Run GQL Queries
Write queries in your .gql file and hit Run. You will be prompted to pick a connection and enter the database user password. Your queries will be executed on the specified defaultGraph.
You'll also see your active connection in the bottom status bar, where you can quickly disconnect or switch to another one.
Multi-Query Support
You can run multiple queries at once by separating them with semicolon ;. Each query result opens its own tab.
Visualization
The extension gives you two ways to look at your results: Graph view and List view. In Graph view, you can drag nodes and edges around the canvas, and if you right-click on any of them, an info box pops up showing all their properties.